Happy Friday! Today we’ll be taking a closer look at two of the most anatomy-dependent and complicated to heal cartilage piercings in the world – The snug piercing and Antitragus piercings. So what are they? What anatomy are we looking for? Why are they so tricky to heal? And why are they so dang popular?
What is a Snug Piercing? What is an Antitragus Piercing?

Antitragus piercings are complex cartilage piercings that pass through the ‘ball’ of cartilage that sits opposite to the flat plate of the tragus. These piercings are performed with curved barbells, often with plenty of room to allow for initial swelling as these can swell quite a bit!

Snug piercings are another complex cartilage piercing, that often sit higher up the ear, parallel to the conch. These are pierced through the ridge of cartilage between the conch and outer helix.

The above diagram doesn’t quite do the antitragus and snug anatomy justice, however it is important to know that these are not flat plates of cartilage like the helix, conch, or tragus. The snug and antitragus are actually folds of cartilage with a fluid-filled void in the middle. I recommend you feel your snug and antitragus to see what I mean. Pinch your snug from the front and back, and you should be able to feel the little space in between the fold. Pinch your antitragus from the front and back, and you should be able to feel the squishy void!
This extra anatomy means that technically, these are two conjoined piercings – We are piercing through the front, and back, of the cartilage. This, plus the fluid void, make these extremely difficult to heal.
Snug and Antitragus Anatomy
We often tell clients that these piercings are highly anatomy dependent… But what does that mean? What anatomy are we looking for? Here we will place some photos of ideal, and unsuitable anatomy and explain our reasoning for each.

This ear has really nice Snug anatomy! You can see that the snug ridge is sharp, well-defined, and has space on either side to support the jewellery comfortably. 
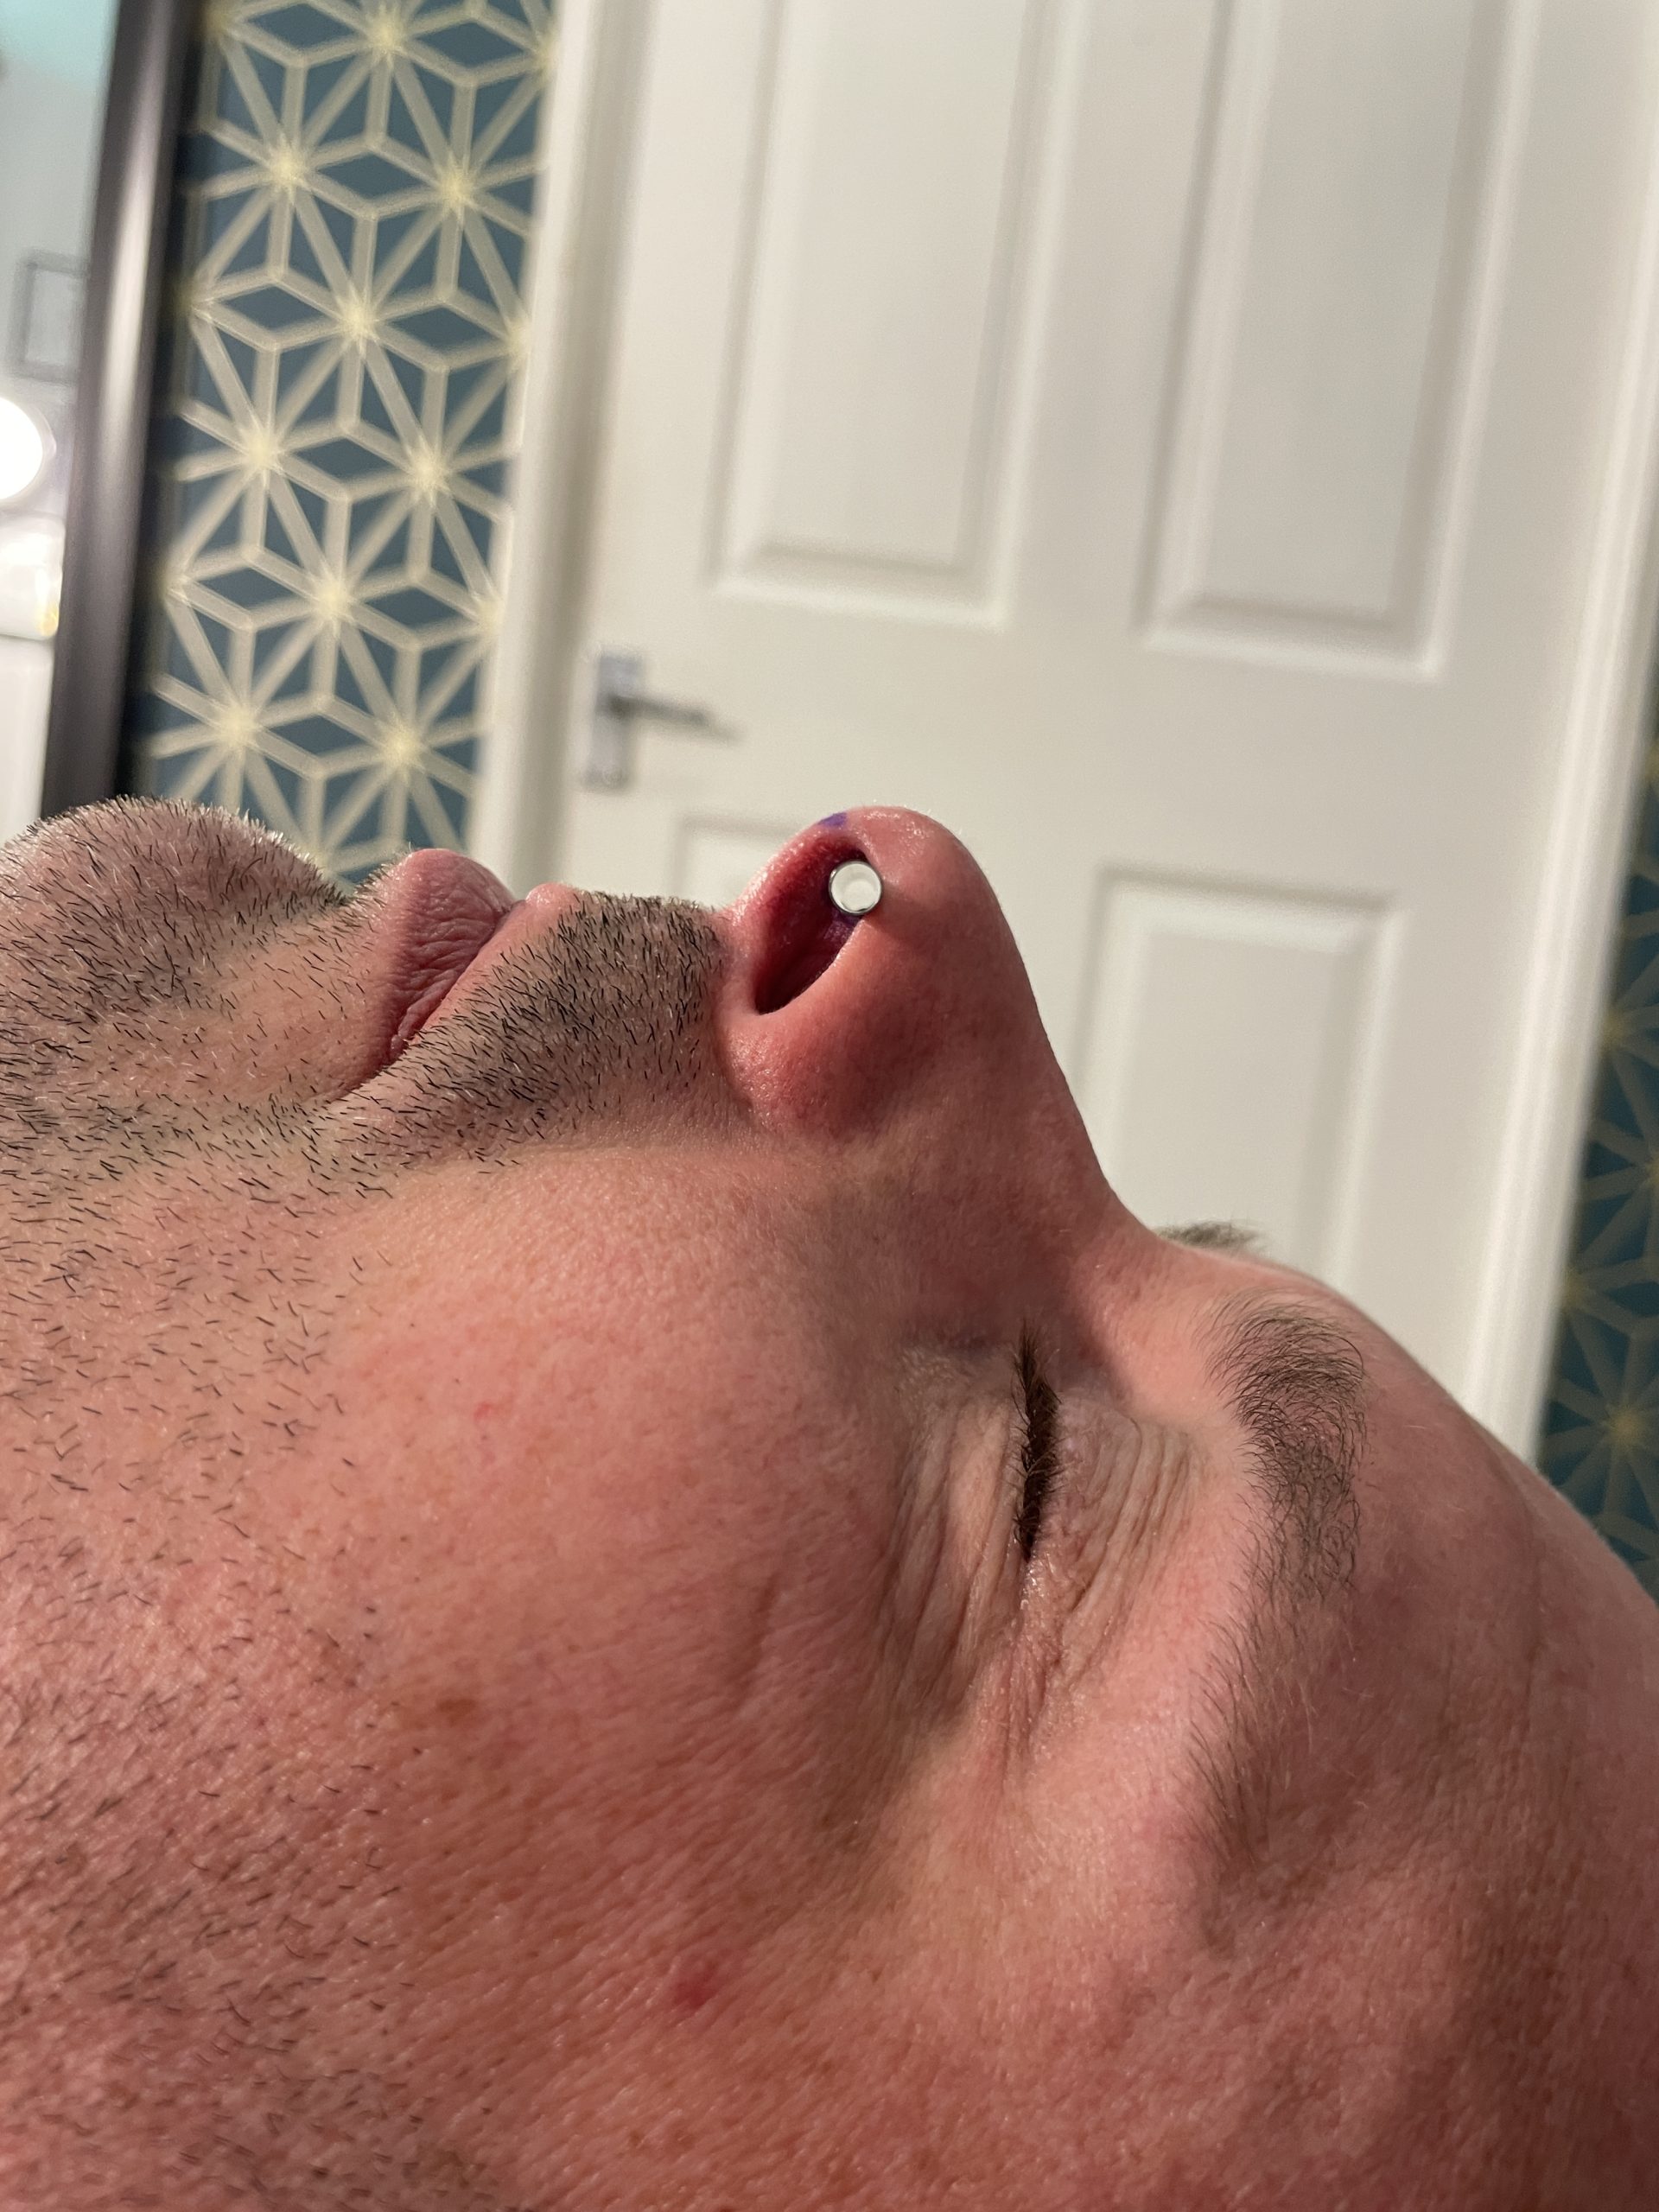
This ear does not have the anatomy for a snug piercing – You can see that the snug ridge is very broad and flat, and does not have the defined edges we need to support a snug piercing.
As snug piercings are a very complex piercing, we only want to perform them on perfect anatomy. There are as many shapes of snug as there are ears on the planet! Even on the same person, one side may be more suitable than the other. So what are we looking for?
Snug piercings require a very sharp, steep ridge. This steepness means that there is not a huge void between the two cartilage plates. The smaller the void, the easier your healing process. The ridge needs to be well-defined, so that the jewellery has only a short distance to clear. Finally, there needs to be good room either side of the ridge to support the jewellery. Some people have very tight outer helix ridges, which would compress the jewellery and minimise the chances of a good heal.


We are looking for similar things when it comes to antitragus piercings! Again, we need a sharp, well-defined ridge to support jewellery. The sharper and thinner the antitragus ball is, the smaller the fluid void and the easier your healing process is going to be.
There are as many examples of perfect and imperfect anatomy as there are ears on the planet, so please always have your anatomy checked by a trained professional piercer!
Antitragus and Snug Piercing Aftercare
- Clean piercing twice daily with sterile saline.
- TO CLEAN: First, wash hands with antibacterial soap and water. Spray a small amount of sterile saline onto both the front and back of your antitragus or snug piercing to soak and soften crusties. Use a piece of non-woven gauze or clean, folded kitchen roll to gently remove any debris. Once the piercing is clean, gently dab away any remaining moisture.
- Do not use any extra products, homemade remedies or chemicals.
- Do not twist, turn or fiddle with your jewellery! This introduces bacteria, damages the healing piercing and can extend your healing time.
- Do not soak or submerge your piercing in the first 4 weeks. This means you must avoid swimming, bathing in bathtubs, hot tubs, saunas etc. Please keep this in mind when booking your appointments.
- Please follow downsize instructions and book a checkup when your snug or antitragus piercing is 4-6 weeks old.
- If you’re unsure or have questions at any stage, then please don’t hesitate to contact us! We’re more than happy to help. Contact us via email or through our instagram.
Snug and antitragus piercings are reknowned for experiencing heavy swells during their first few weeks of life. This is because the void between the two cartilage folds can fill with more fluid during the initial swell, and this fluid takes a long time to drain away! This means that the initial swell can be a little more excessive, and take longer to go down than other piercings.
This also means that you may be pierced with what looks like a silly-long curved barbell! Do not fret, this additional length is necessary to accommodate that initial swelling phase. We strongly recommend downsizing as soon as possible, as snug and antitragus piercings are quite fragile and are more susceptible to damage caused by snags and knocks. Your new snug or antitragus may require more than one downsize, as the swelling take take a longer time to fully diminish and it is impractical to wait until the full swelling is gone before downsizing. It’s highly likely that you can cause a new swell by not having the intermediate downsizes!
Snug and Antitragus piercings can take as long as 12-18 months to fully heal, however they should be comfortable and unproblematic on a daily basis after 6 months.
The Takeaway
The main takeaway is that these are not beginner piercings! They can take a long time to heal, and can be fairly problematic when fresh. That being said, if you have already had a few cartilage piercings and have healed them well, then we would say that a snug or antitragus is definitely within your skill set to heal!
Always, always book in for an anatomy check with a reputable, skilled piercer before getting these piercings! As they are more challenging to heal, it’s super important that you start off on the right foot by having good anatomy for the piercing.
If you have any questions about antitragus or snug piercings, please don’t hesitate to get in touch with us via instagram or email!